How to make a paper birthday banner
Published 2026-10-25 · Updated 2026-10-25
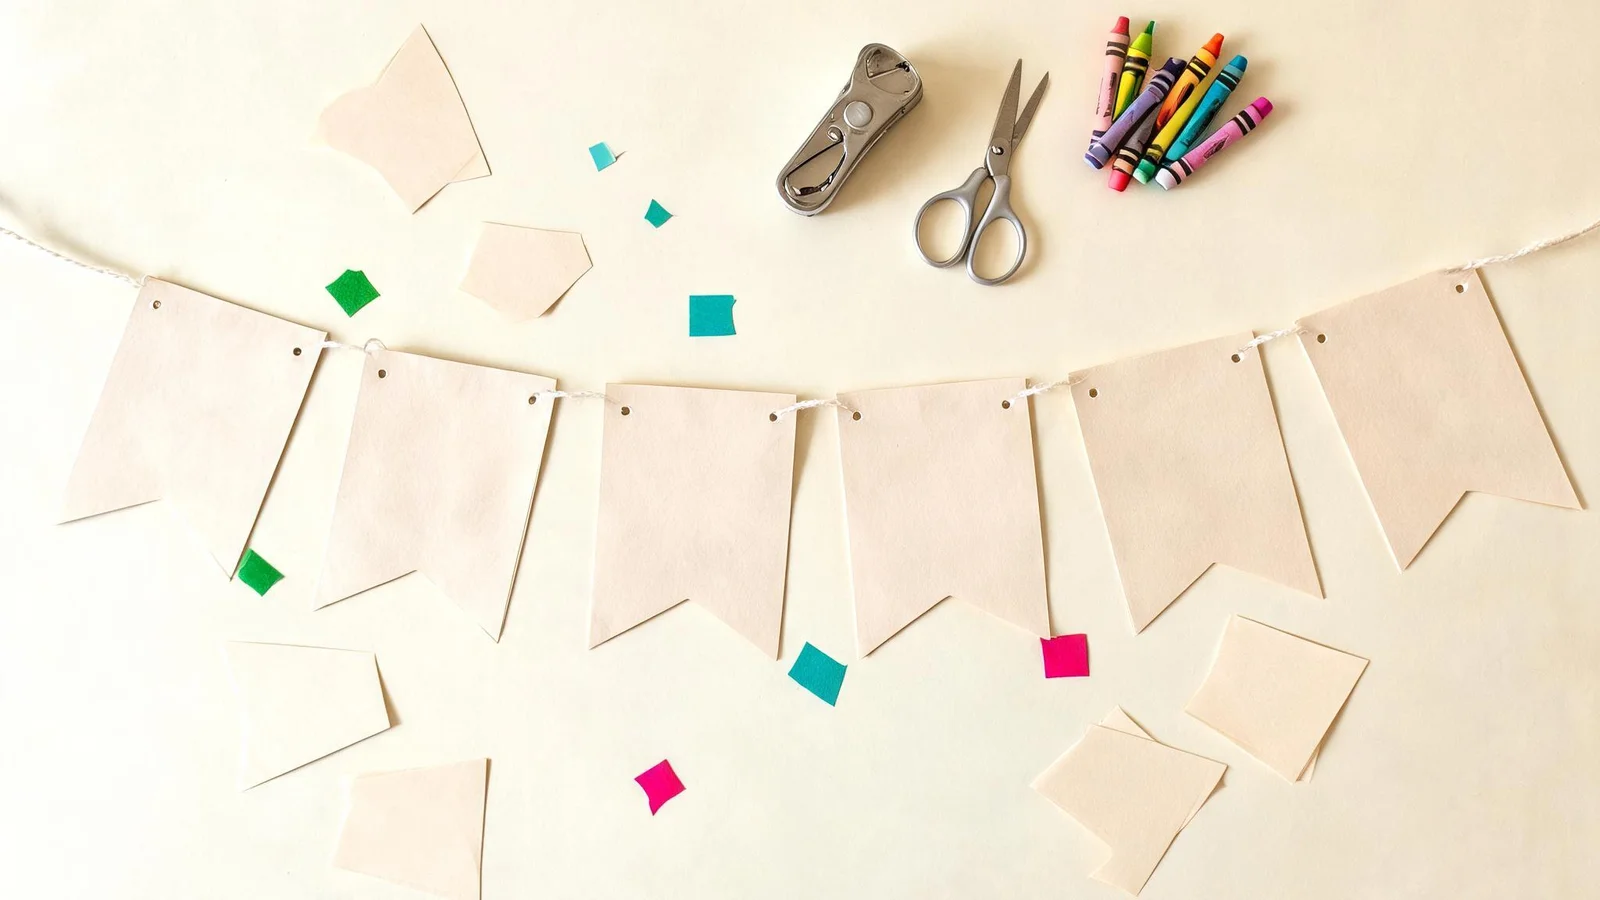
Count every letter in the words you want to hang, including a repeated letter. Cut one flag per letter, add a blank flag between words, punch the top, and string it. Leave a ribbon tail at each end so you can tie the banner up.
HAPPY BIRTHDAY is 13 letter flags. That is the pennon count on the Sweet Meadow Farmhouse birthday banner: 13 completed pennons, one for each letter, including both Ps.
Count the letters before you cut
Write the phrase. Count every letter. A second P in HAPPY is a second flag. A template set of unique letters is a different count: one fabric tutorial cut templates for h, a, p, y, b, i, r, t, and d, which is one of each letter, on the at home with Ashley banner. Use that list for templates. Use the 13-flag count when you cut the flags that will actually hang.
Add one blank flag between words. A cardstock tutorial calls these spacer pennants and places them between the words, on the My Blessed Life pennant tutorial. Add the child's name and the age the same way: one flag per letter or digit, and a spacer before the name if you want a gap.
Pick a flag size, then cut
For paper pennants, cut triangles from cardstock. The My Blessed Life tutorial gets 6 pennants out of each 12×12 piece. Glue a slightly smaller scrapbook-paper triangle on top if you want a second color, then glue or draw the letter. Punch holes in the upper corners and string ribbon through, which is the finish on that same tutorial.
Fabric flags are larger, and they are a different project from a home-print sheet. One sewn banner uses flags about 10 inches across the top and 12 inches on the long sides, with letters 6 inches tall, on the Crazy Little Projects banner tutorial. Another uses 5 by 7 inch fabric for the front and back of each letter, on the at home with Ashley banner. Those inch marks stay with the fabric tutorials. The home-print flags use the size in the shortcut section.
Circles are a third shape. Print or draw the letters, trace a bowl around each one, cut the circles, and punch a hole on each side. The KiwiCo homemade banner prints two letters per page and punches holes on each side of the circles.
Cut the string with a tail at each end
Lay the flags in order on the floor. String them. Then add a tail at each end long enough to tie or tape.
A fabric pattern leaves 18 inches of bias tape on either side of the short HAPPY row, and 24 inches on each side of the longer BIRTHDAY row, on the Sweet Meadow Farmhouse pattern. A banner of large fabric flags on the Crazy Little Projects tutorial is probably about 10 to 15 feet long. Smaller paper flags make a shorter string than those 10-inch fabric flags. Measure your row of paper flags, then add the tails. A short wall can take the two words on two strings: HAPPY on one, BIRTHDAY on the other, which is how the Ashley banner is hung.
What a homemade banner can cost
The cardstock pennant banner cost under $5.00 to make, on the My Blessed Life tutorial. A fabric banner's batting and bias tape came to $14 when the fabric was scraps, and pre-made fabric banners on that page cost around $50, on the at home with Ashley banner. The sewn fabric version takes 3 to 4 hours, on that same page. Cardstock is the inexpensive route if you want the banner this week. Fabric is the route if you want to keep the flags for next year.
The chains, fans, and table pieces that hang beside a banner are in paper birthday decorations. The invite can use the same colors. See how to make a birthday invitation.
A home-print shortcut after the count
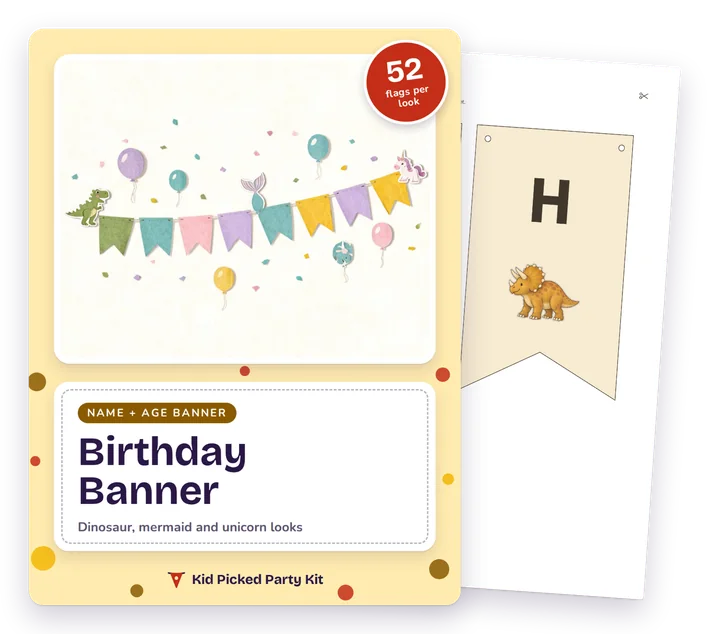
Once the letter count is done, a file can print only the flags you need. A home party can hang a Happy Birthday banner with your child's name and age, printed at home, from the Name and Age Birthday Banner. It has swallowtail flags 3.25 × 5.5 in, two per sheet, with punch marks, and three looks: dinosaur, mermaid, unicorn. It comes with a Party Maker file: type the name and age, print only the flags you need, with a flag count and string estimate. It offers letters from the A–Z and 0–10 sheets. It needs a printer, cardstock, scissors, a hole punch and string, plus a web browser to personalize. It lists US Letter and A4 as separate PDFs. It is print-only. It is home-print flags only and has no large photo-lab banner size.
A worked count (illustrative)
Say the phrase is HAPPY BIRTHDAY, the name is Sam, and the age is 6. Letter flags: 13 for the phrase, 3 for Sam, 1 for the age. Spacer flags: 1 between HAPPY and BIRTHDAY, 1 before the name. That is 19 flags. Lay those 19 in a row, add a tying tail at each end, and the string length is whatever that row measures. Swap the name and the count changes. This name is an example, not a pattern size.
One honest limit
The inch marks and the foot range above are what those tutorials used for their own banners. A short hallway needs smaller flags or two rows. Measure the wall before you cut a long ribbon.
Questions
How can I make a birthday banner?
Count every letter in the phrase, including a repeated letter. Cut one flag per letter, add a blank flag between words, punch the top corners, and string ribbon through. Leave a tail at each end to tie.
Is it cheaper to DIY or buy a banner?
A cardstock banner can be made from paper and ribbon. A sewn fabric banner costs the batting and tape on that tutorial, and a shop fabric banner is priced on the same page. The figures are in the cost section.
What are some creative ways to hang a banner?
Tape the tails to the wall, tie them to a curtain rod, or hang the two words on two strings so a short wall still fits.
What is the typical length of a birthday banner?
It depends on the flag size. A large fabric banner on one tutorial runs long enough to need a wide wall. Measure your flags in a row, then add a tying tail at each end.
How to make an inexpensive banner?
Use cardstock or construction paper, a hole punch, and ribbon. One flag per letter is enough. Fabric and felt are the keep-forever route, and they take longer.
What kind of paper to use for a birthday banner?
Cardstock holds a pennant. Construction paper works for circles. The flag-size section names the sheet one cardstock tutorial cut pennants from.